This article describes the save functionality in Tribby3d, how it works and how it is intended to be used.
General
As Tribby3d is a cloud based software, it does not operate on files that need to be saved locally on your hard drive. Instead, Tribby3d stores your models safely in a database, which allows you to access them at any time.
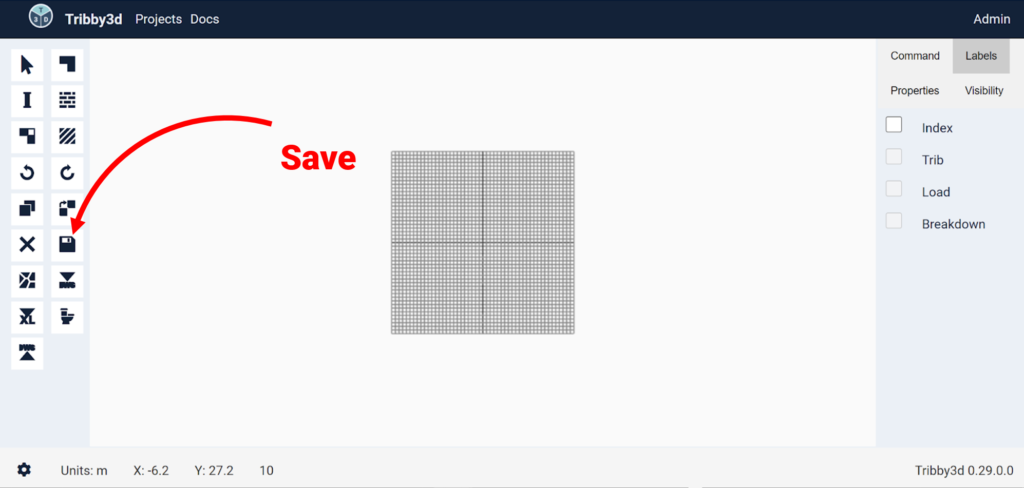
Elements added to the viewport become part of the active project. When saved, Tribby3d will take a snapshot of the current state of the project including the elements contained in it. However, these will not be saved unless you explicitly press the Save button. See below:
When the save button has been pressed, the save operation will take action. Once this is done (which usually takes a few seconds) you will get notified.
You can use the save button as much as you like. It is recommended to use it frequently during modeling to avoid losing work. A new save will override any previous saves.
Remarks
- There is no auto-saving functionality in Tribby3d. Pressing the Save button is the only way to save your work.
- If you try to exit the editor with unsaved changes, Tribby3d will prompt a message asking you if you want to save before leaving.
- In the current version of Tribby3d, a save operation within a project will always override any previous saved states of the project. Therefore, one should use the save functionality with caution to avoid unwanted loss of data.
- Tributary areas and other analysis data will not be part of the saved model. These can always be regenerated given that the elements that produced the analysis results have been saved to the project.